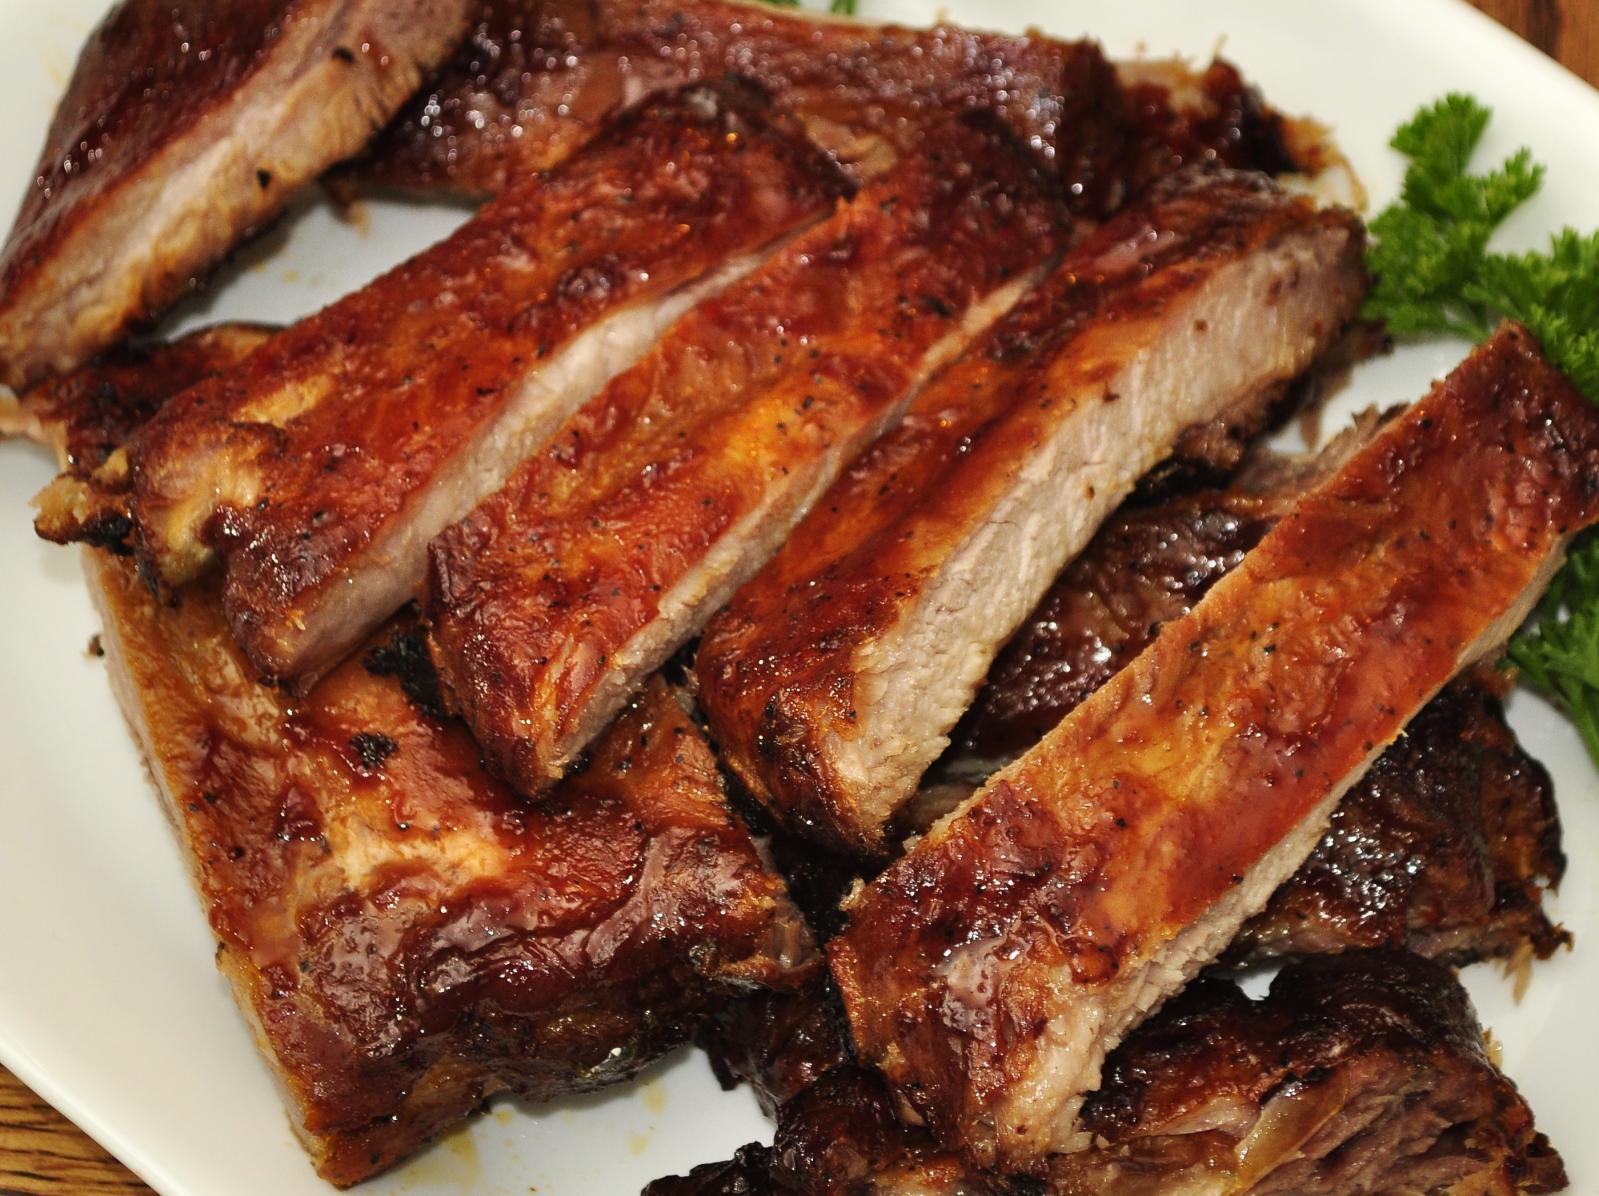
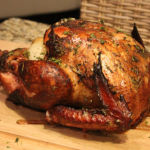
In my opinion, properly prepared ribs are some of the most delicious foods known to man. And, while there are a lot of differing opinions on how ribs should really be prepared, I have always preferred the St. Louis style myself. I grew up near St. Louis so I’m used to my ribs being square and even and not only tasty but pretty to look at as well. Love it or hate it, that’s just how ribs are supposed to look to me. In fact, I didn’t even realize that was a special kind of rib until I was an adult; that’s just how ribs looked.
Anyway, while I have the luxury of taking it for granted, St. Louis Style ribs are really rather expensive most places. Fortunately, it’s actually really easy to cut them yourself, and you have the added benefit of having the rib tips to work with as well.
I did originally have images to go with this post, but I can’t seem to find them (I suspect they may have been deleted when I had to factory reset my computer…) so I’ll do my best to explain without them. 🙁
Step 1: Trim the flap
The narrow end of the will usually have a piece attached below the shortest rib which is thinner than the rest. This piece will often overcook as it is not as thick as the rest of the rib. Some people like it because it gets crispy, but I personally always remove it. Feel around to locate the shortest bone and cut below it to remove the flap.
Step 2: Find the longest bone
To trim the rib square, you’ll need to figure out where to make the long cut down the rib. Feel around for the longest bone (it’s usually the fourth bone) and make a small cut there as a guide.
Step 3: Trim the rib
There are literally a dozen different ways to do this, depending on how confident you are in your cutting abilities. Basically, you’re wanting to shear the breastbone portion away by cutting. I usually start at the longest rib that we identified earlier and then work to one end and back down the other. I’m terrible at eyeballing things. You can also square off the other end if you like, but that’s mostly going to be for looks.
Step 4: Trim the skirt
If you look on the bone side of the rib, you’ll see a sort of flap of meat which should be trimmed or else it will char. This is called the skirt, and it will be differing sizes depending on the rib.
Step 5: Remove the membrane
This is surprisingly controversial in the rib-loving community, but I personally prefer to have it removed. The membrane, if left on, will dry out and almost have the consistency of paper that somehow got stuck to the rib. It is a little hard to remove, but if you can get it started, it’s usually not too bad. I don’t have any tricks on this yet other than to use a paper towel to help with grip. If you have a trick for removing the membrane easily, be sure to share it in the comments below!
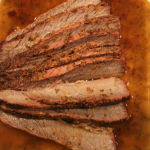
And that’s it. You now have a beautiful St. Louis style rib to cook however your heart desires, as well as some additional meat to be made into pulled pork, rib tips or whatever else you can imagine.
-find the longest bone in the rib (it’s usually the fourth rib on the wider end)
find where it stops and square-off the ends (keep the trimmings; carnitas, shreadded pork)
Trim the ends if you like; keep the tips! looks neater and cooks better (bone side up)
Trim the skirt on the back
Remove the membrane
Leave a Reply